


Our set for Easter was a little different this year. Our TD wanted to reuse some lighting design elements that we haven’t used in 3 or 4 years. This got me excited because we never used them as projection surfaces so I was really looking forward to this project. One of the challenges we knew up front was the mask for this one was going to be a pain. It may not have been the worst one have ever done, but it was one of the more difficult, but I am getting ahead of myself. Lets start with the stage.

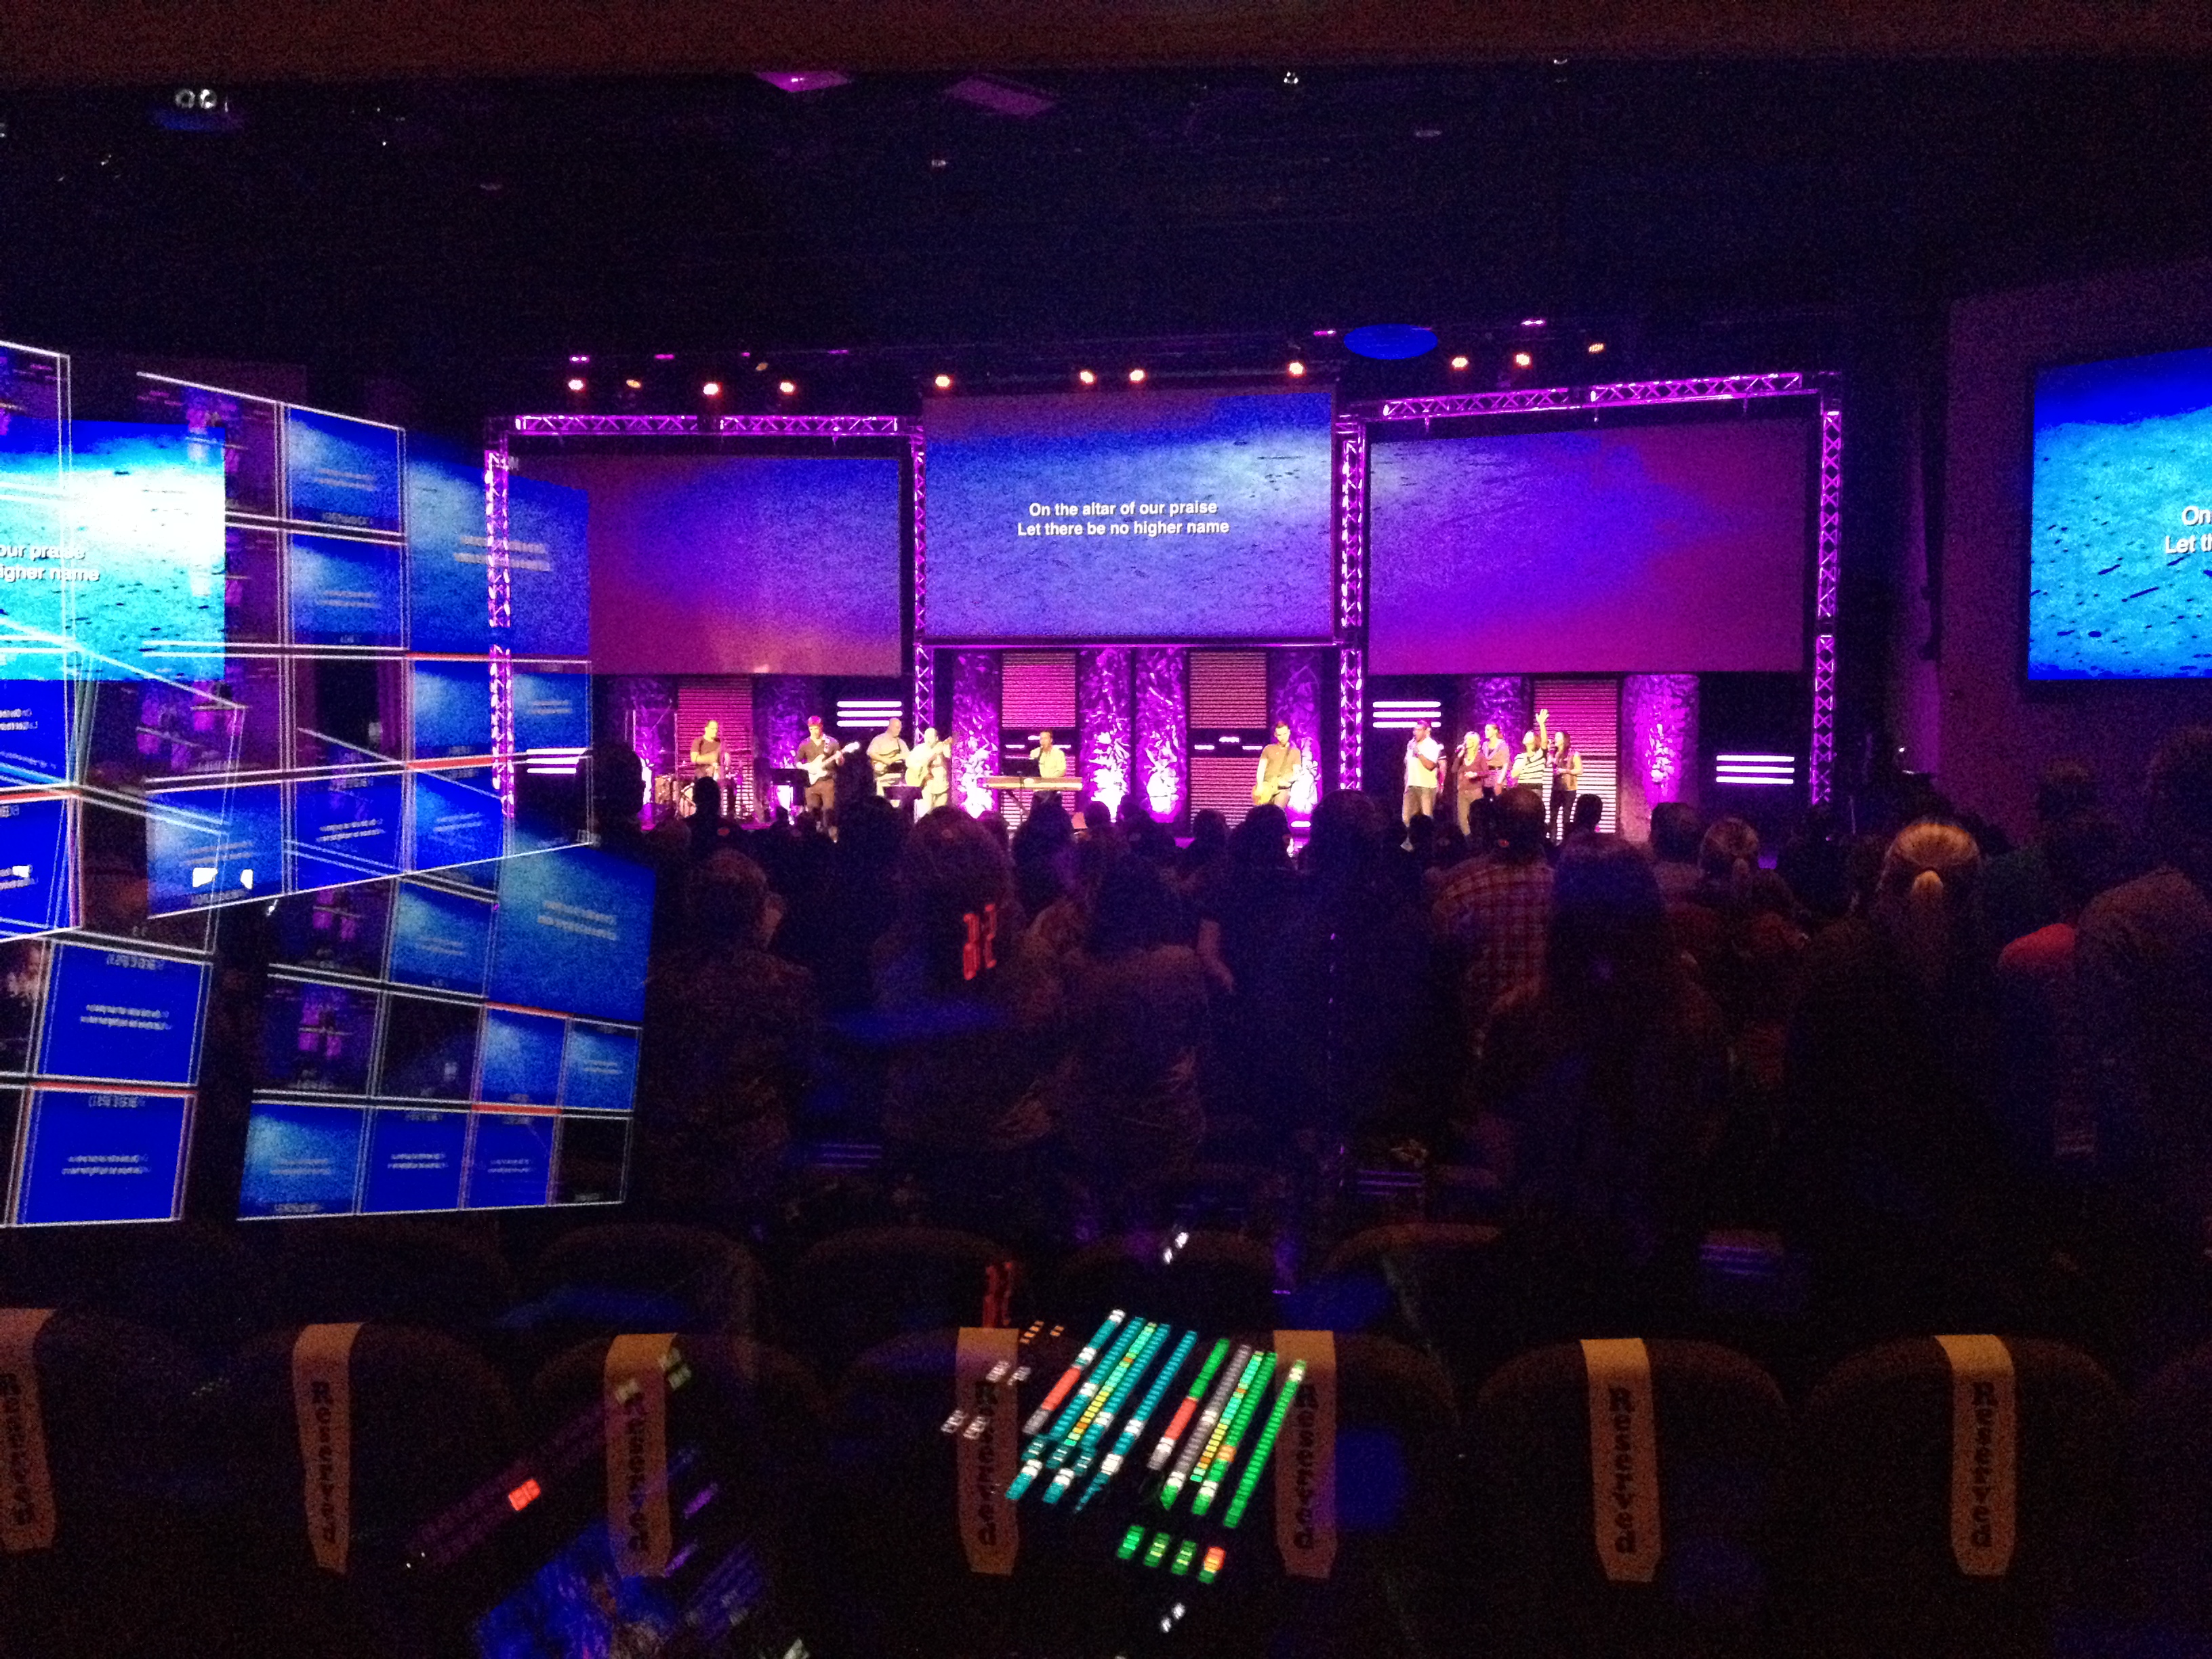
Looks great right?! The tomb is made out of… well think paper mache but instead of paper use canvas and instead of plaster of Paris use concrete. It’s paper mache for tech guys, if you will. It creates a huge mess just for the record. There are 2×4 and chicken wire framing underneath it. Above we have spandex panels and crosses made out of truss and covered in muslin. Crazy enough we had all this already. Our TD and his team did a great job with this design, it was lot of man hours for the volunteer staff to make this dream a reality, but as usual they did it.
So now was my contribution to the set, the projection mask. In the grand scheme of things this is about as unimportant as it gets, but they way it’s done is REALLY cool I think, which is part of the reason I do it. First lets start by looking at the projectors. Now we are producing this image on 3 projectors, that are not edge-blended but are over-lapped. Easier to show than tell.

In retrospect, I am aware this is about the worst picture I could have used for the purpose demonstration…thanks for noticing. So that is what each projector is responsible for, yes I am aware that the crossbeams are on one projector and the rest of the image is from another, that was a big part of the challenges. Since they over-lap, I have to account for that area on both sides of the projection. One to show it (projectors 1 and 3) and one to cover it (left and right side of projector 2). The problem is nothing accounts for the space, so building the mask it really a shot in the dark and pretty much just a trial and error situation. I ended up doing this one projector at a time moving right to left shuttering the projectors as needed.
In the end I ended up with the oddest shaped mask:
 As you can see the mask only looks a little like my surface.
The last thing I did which was a little different was colored the mask for the crosses. I started with a bright yellow, just to make it easy to see. It ended up looking tacky, and white made them pop too much, so I went the other way and made the mask brown. This helped color the muslin on the crosses a little but it didn’t really make them all that much brighter.
All the stage pictures in this post are photo-merges of 3-5 photos pieced together in photoshop. It’s a really simple process, quick shout-out to Josh Hancock for teaching it to me.


No Comment